Table of Contents:
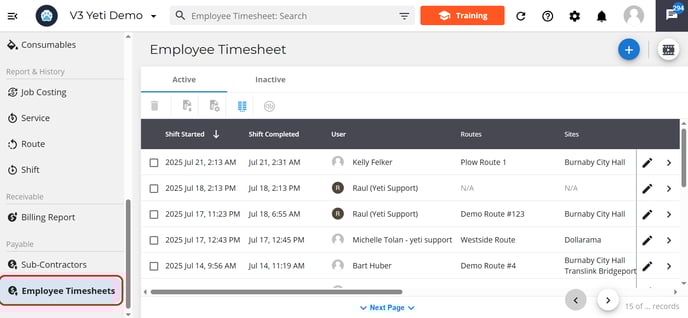
Each employee timesheet record includes detailed information about their shift and related work activity:
-
Employee Name and ID: Identifies the employee associated with the shift.
-
Shift Timing and Duration: Includes the time the employee started and ended their shift, along with the total duration worked.
-
Compensation Details: Includes the employee's hourly rate and the total amount to be paid for their shift.
-
Notes and QuickBooks Sync: Contains any shift-related notes and indicates whether the timesheet has been synced with QuickBooks.
-
Crew Members: Lists other employees who worked the same shift.
-
Route and Sites Performed: Shows the route assigned and the sites the employee serviced during the shift.
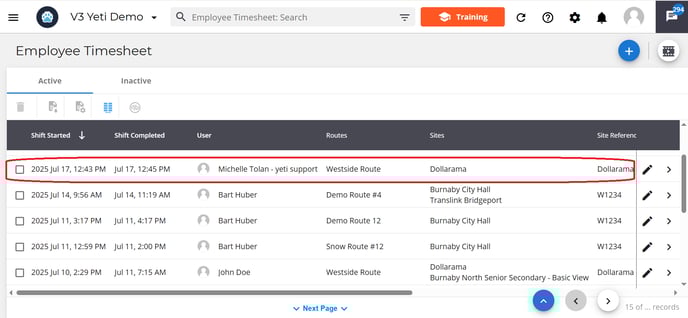
- selecting the edit button in a record

- by selecting the pencil icon

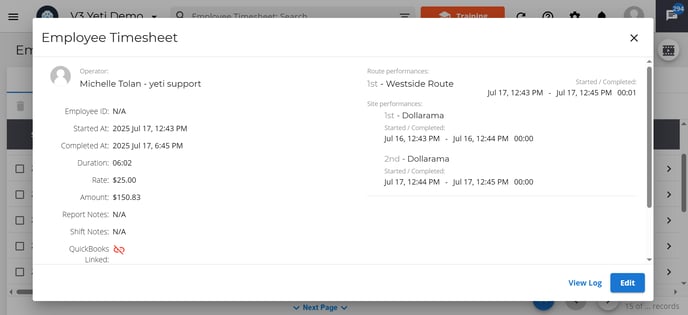
You can edit the following fields:
- Operator
- Start and finish time
- Hourly rate
- Report Notes

View Log
You can keep track of any changes to the record by selecting the Log button

Create a Manual Record
If the Operator's device isn't working or the crew leader forgot to put the Operator into the shift, you can create a manual record to register the amount to be paid to the Operator.
In order to create a manual record, click on the 'add button', and a pop-up window will show. Select the Operator, date, and time and type the hourly rate.

Enter in your data and hit save. This will create a new employee timesheet record.

Note: Manual records will show Route and Site as 'N/A.'

Manual records will automatically populate the rate when you select the Operator.
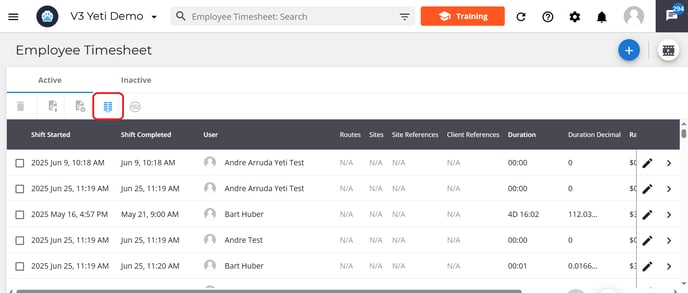
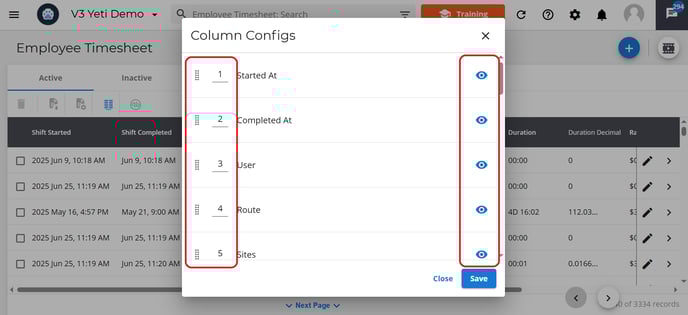
Columns Display
Columns can be arranged in any order by typing the number of the column. For example, if you type the number ‘2’ in ‘Sites’, you will see ‘Started At’ in the first column and ‘Sites’ in the second column.
Turn the eye icon blue by clicking g on it. This will make it visible on the page.
Search Filter
The filter can be used by typing in the search bar or by clicking on the icon at the end of the bar. Then select the data you are looking for, such as Route, Site, User, etc.


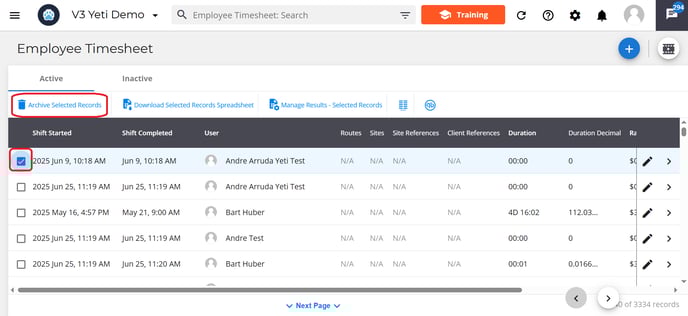
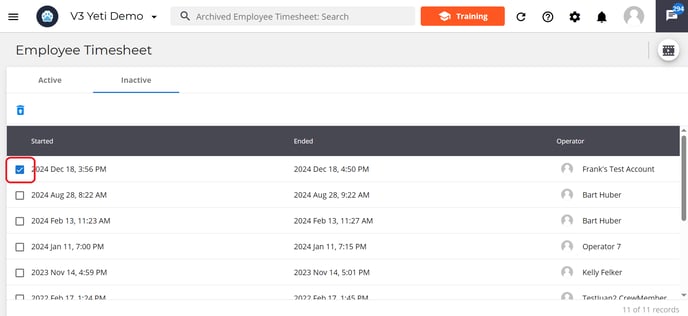
Archive and unarchive records
To archive your records, select them using the checkboxes or search filter, then click on the bin icon. This will place them inot the inactive tab.
To unarchive your records, click on the ‘Inactive’ tab, select the record and click on the bin icon. This will place them back into the active tab.
Export Records
You have two options when exporting records:
- Download Selected Records – This includes records that you've selected manually using the checkboxes or selected using the search filter. They will be exported to a spreadsheet

- Manage results - Selected Records. Use this option to export records that fall within a specific time range from the records you’ve already selected using checkboxes or filters. When you select the button, a pop-up will appear where you can enter in your times. The records will be exported to a spreadsheet.


Important Note: If the timeframe of your selected records does not fall within the date and time range you set in Manage Results, your exported spreadsheet will be empty. Make sure the selected records match the timeframe you've defined.
Push Records to QuickBooks
You can push your timesheet records into your QuickBooks Online account. Select the record and click QuickBooks button to push it.
