Table of Contents
- Save Changes
- Add a Form to a Site
- Fill Out the Form in the Mobile App
- Access Completed Forms
- Download Completed Forms
Create a Form
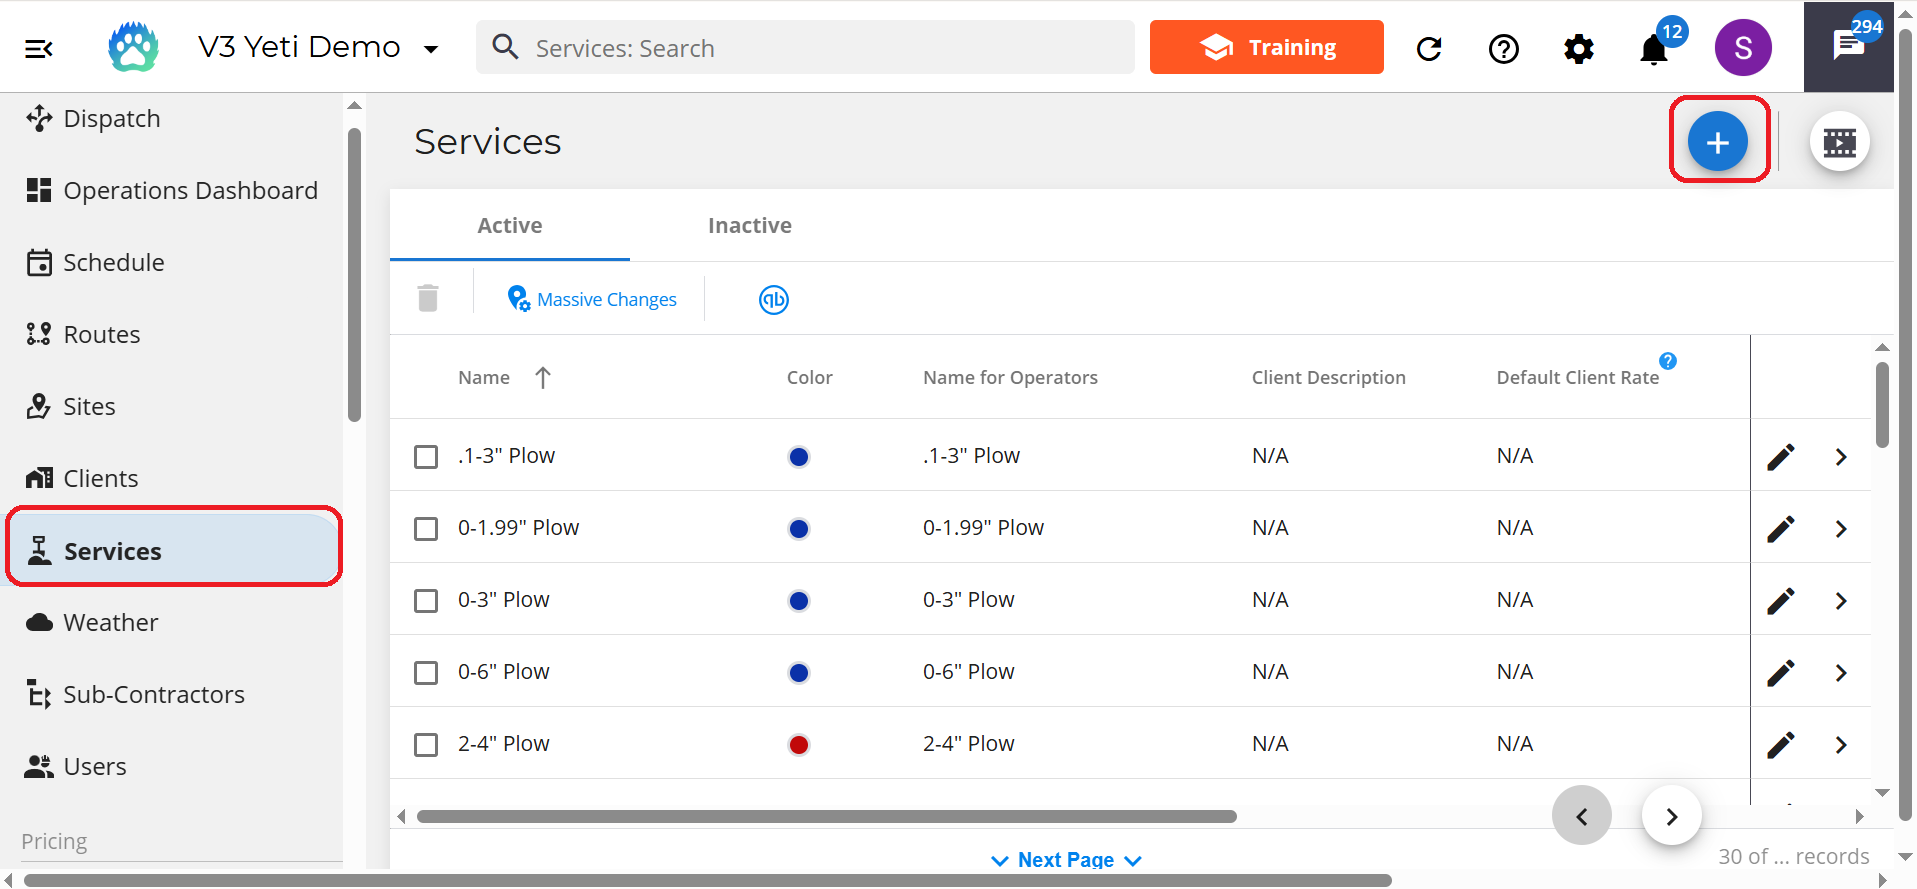
To start we need to create a new Service. Head over to the service page and click the blue plus button.
Note: The Form is connected to a Service so it can then be added to a Site and selected on the mobile app.
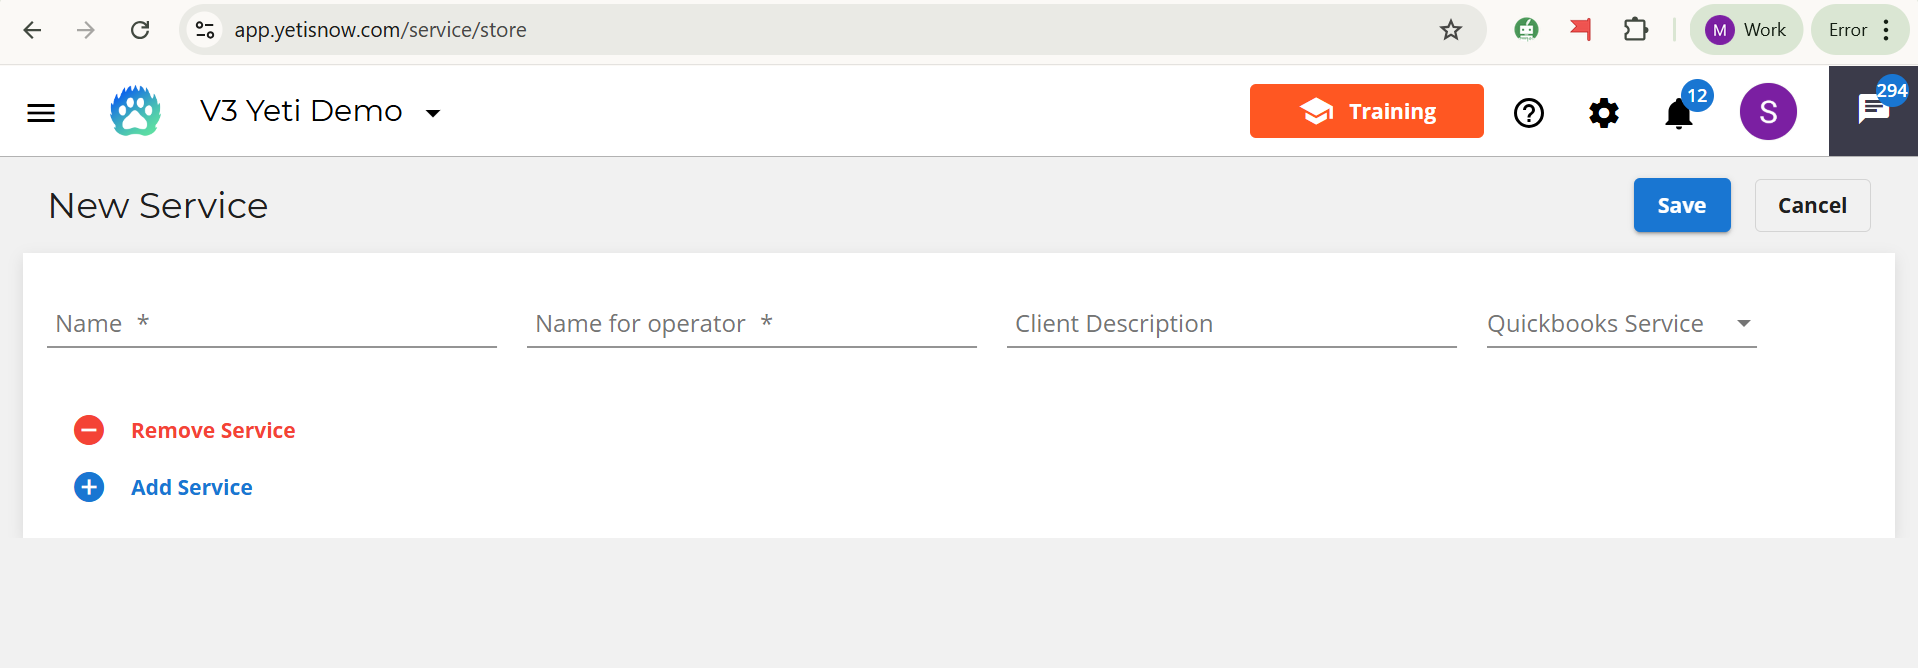
Give your inspection form a name and hits the save button.
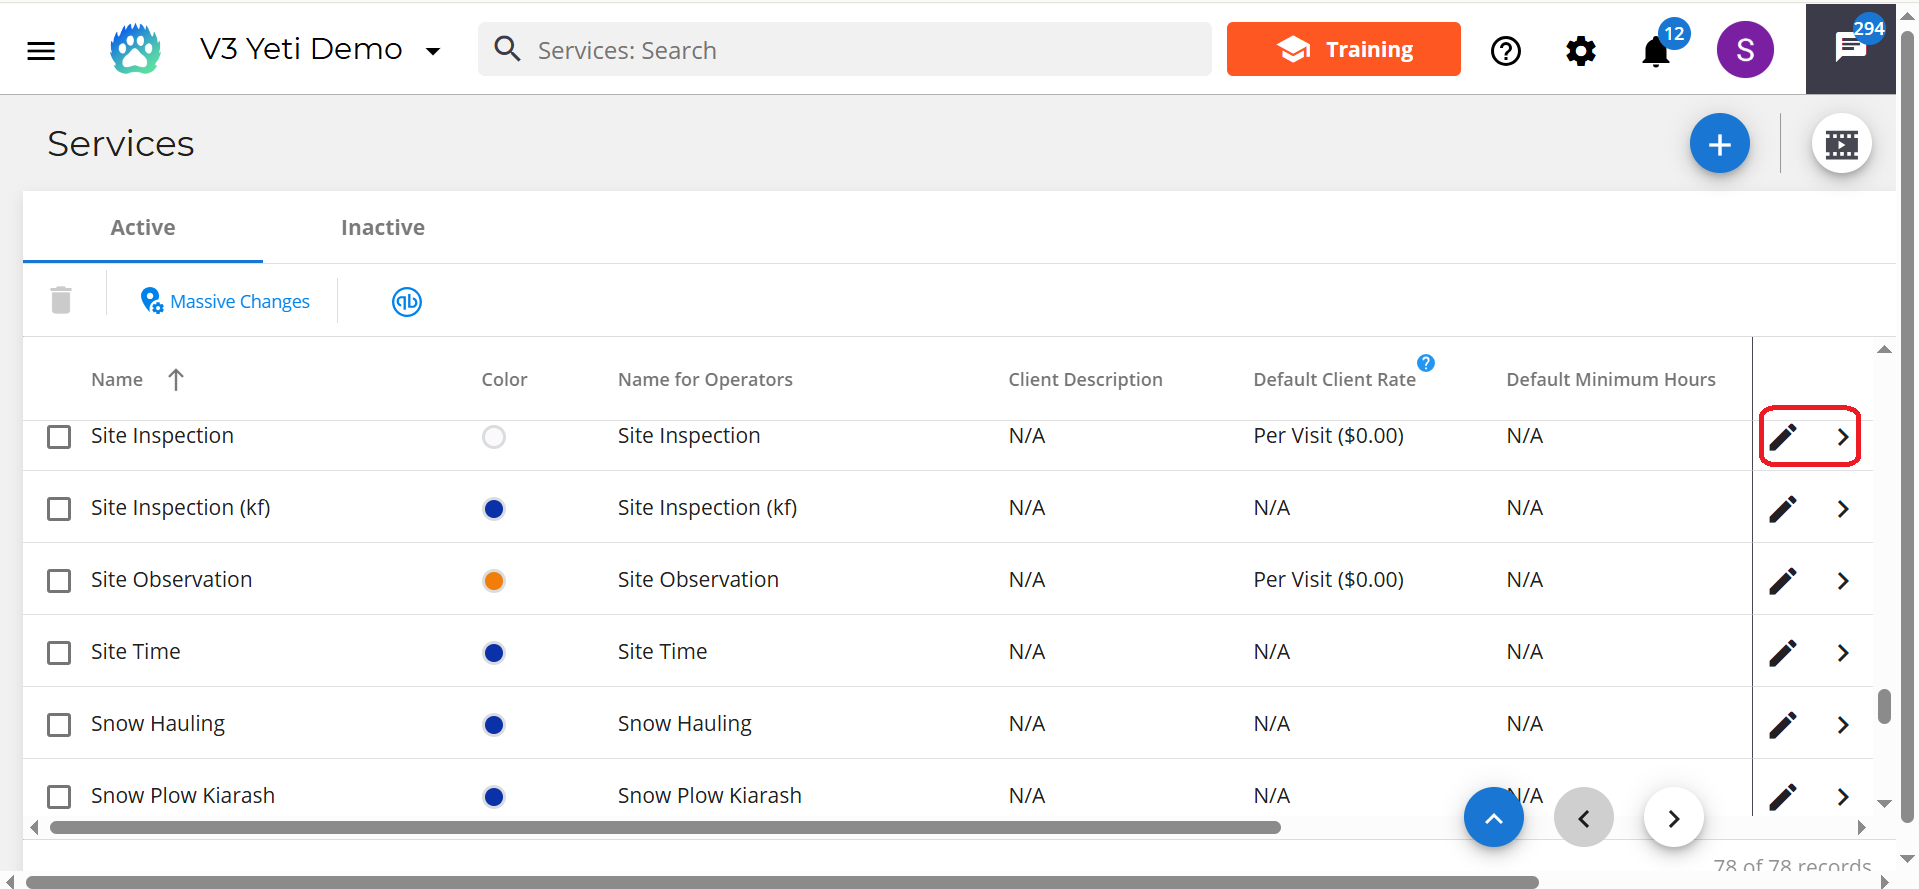
Back on the service page, click the pencil icon beside the service that you just created.
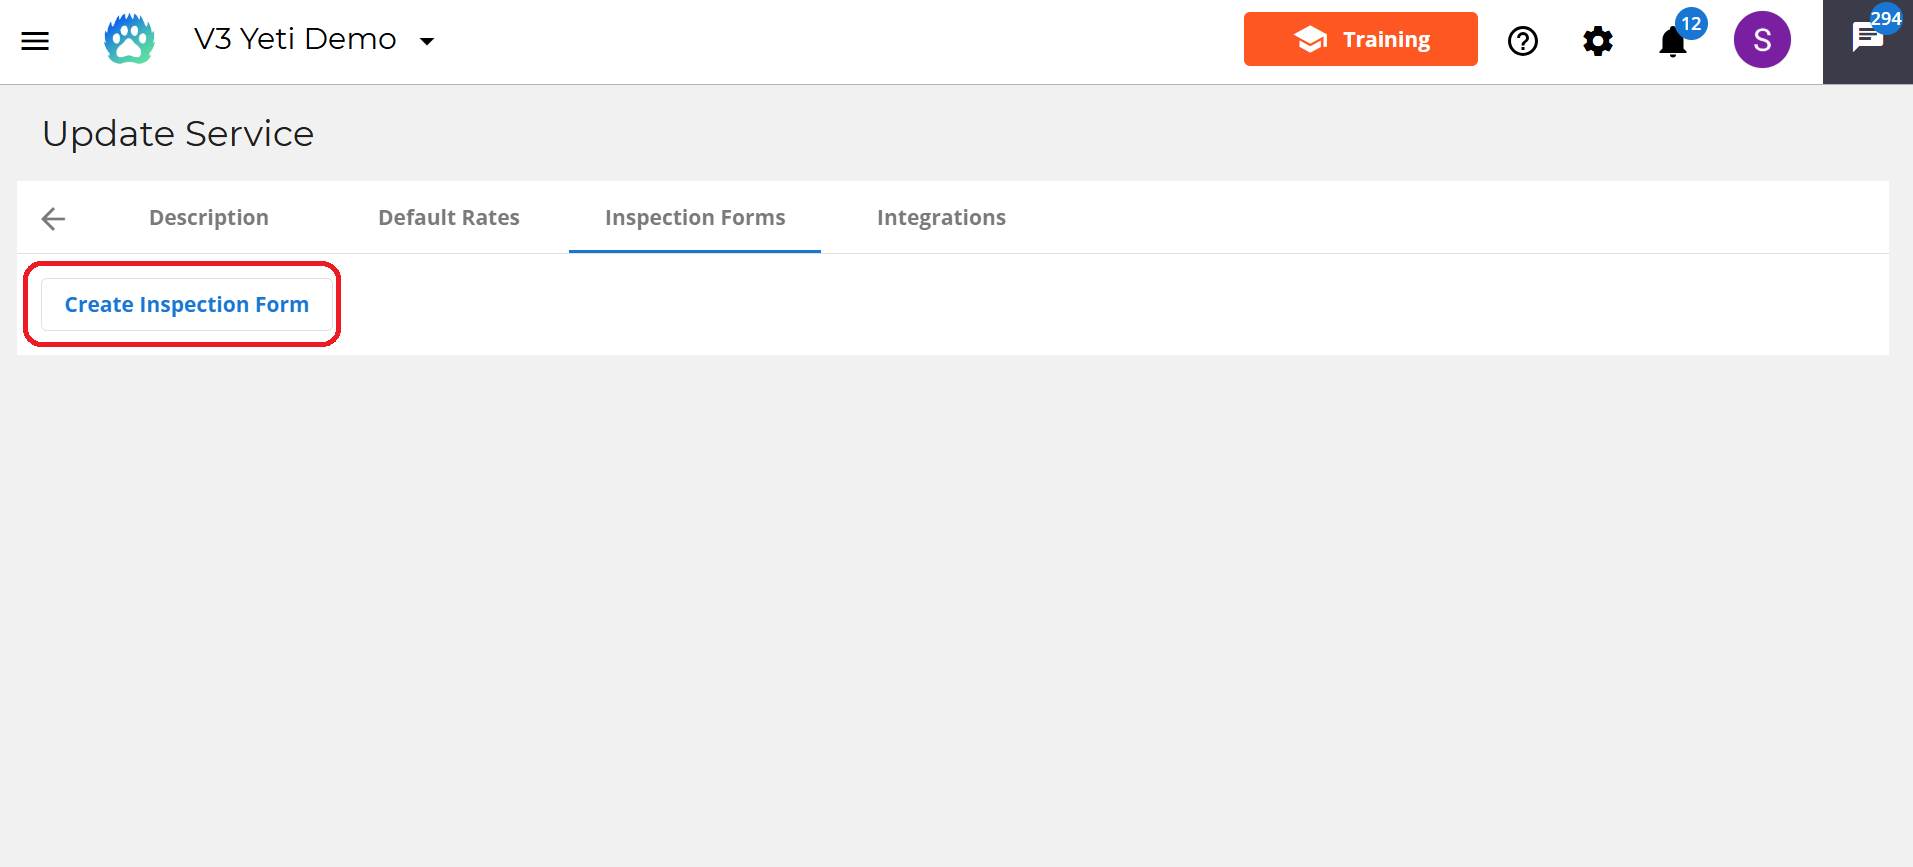
Head over to the inspection form tab.
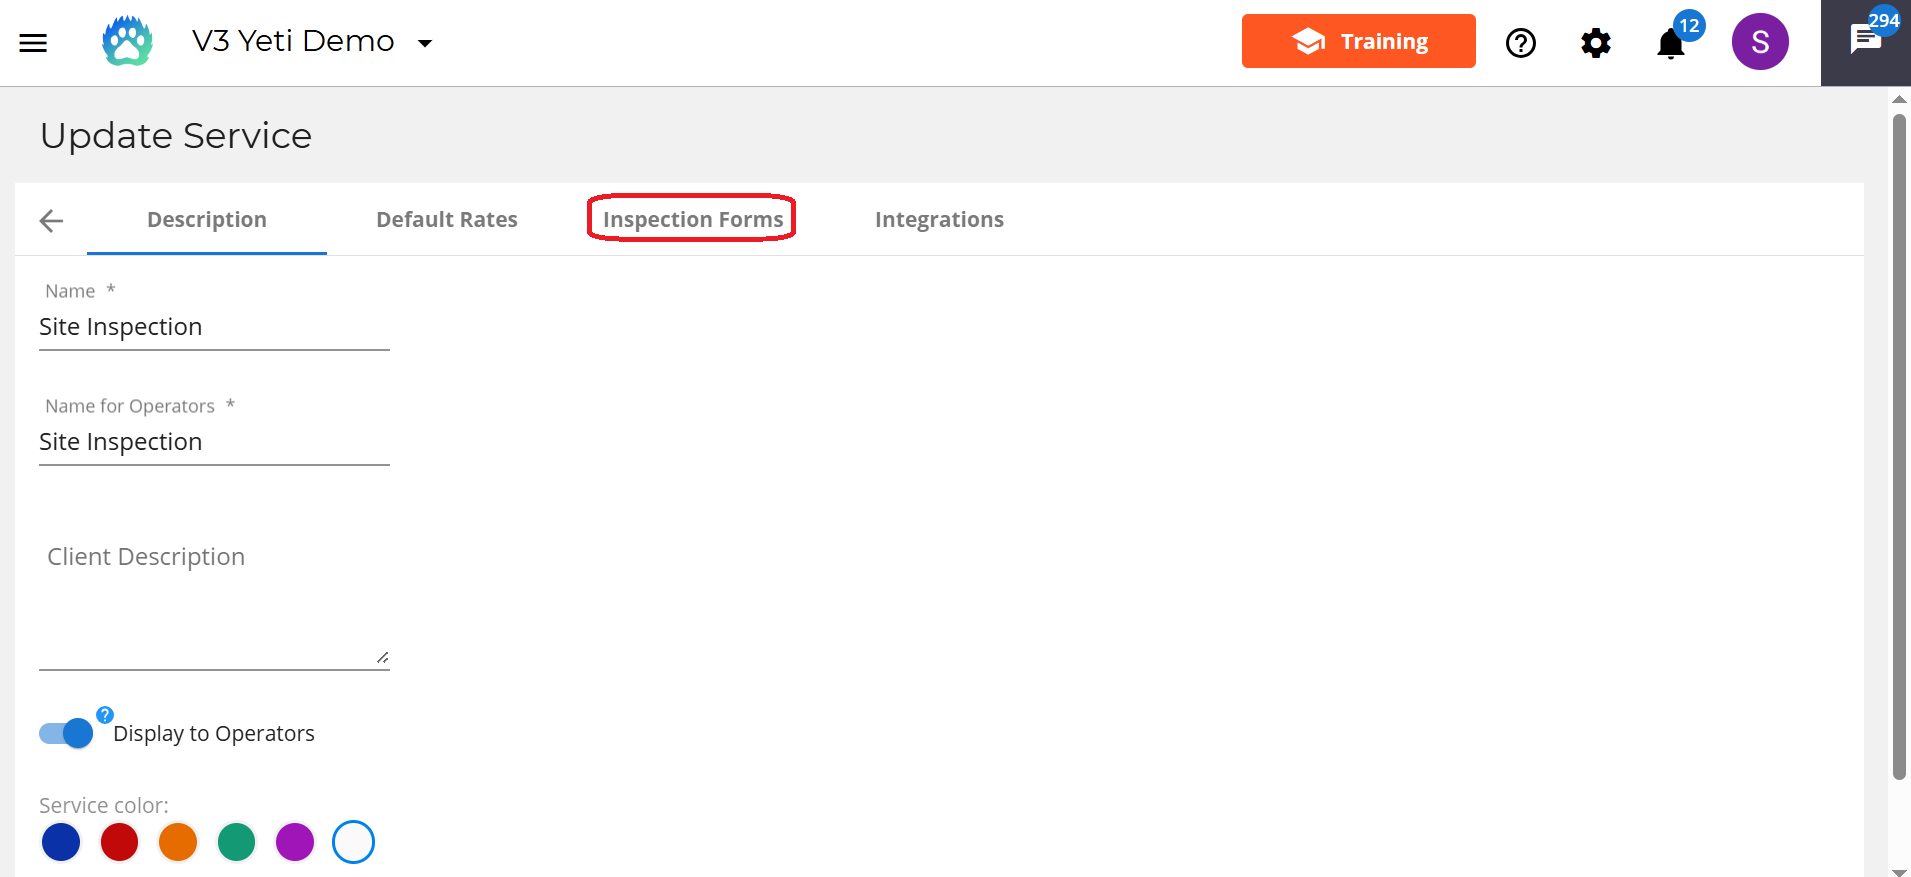
Select the inspection form button.
Choose between creating a custom form or selecting one of our templates.

Customize a Form
This form builder allows you to create a form with an unlimited number of questions with a range of answer types. Group questions into separate sections to cover different topics.
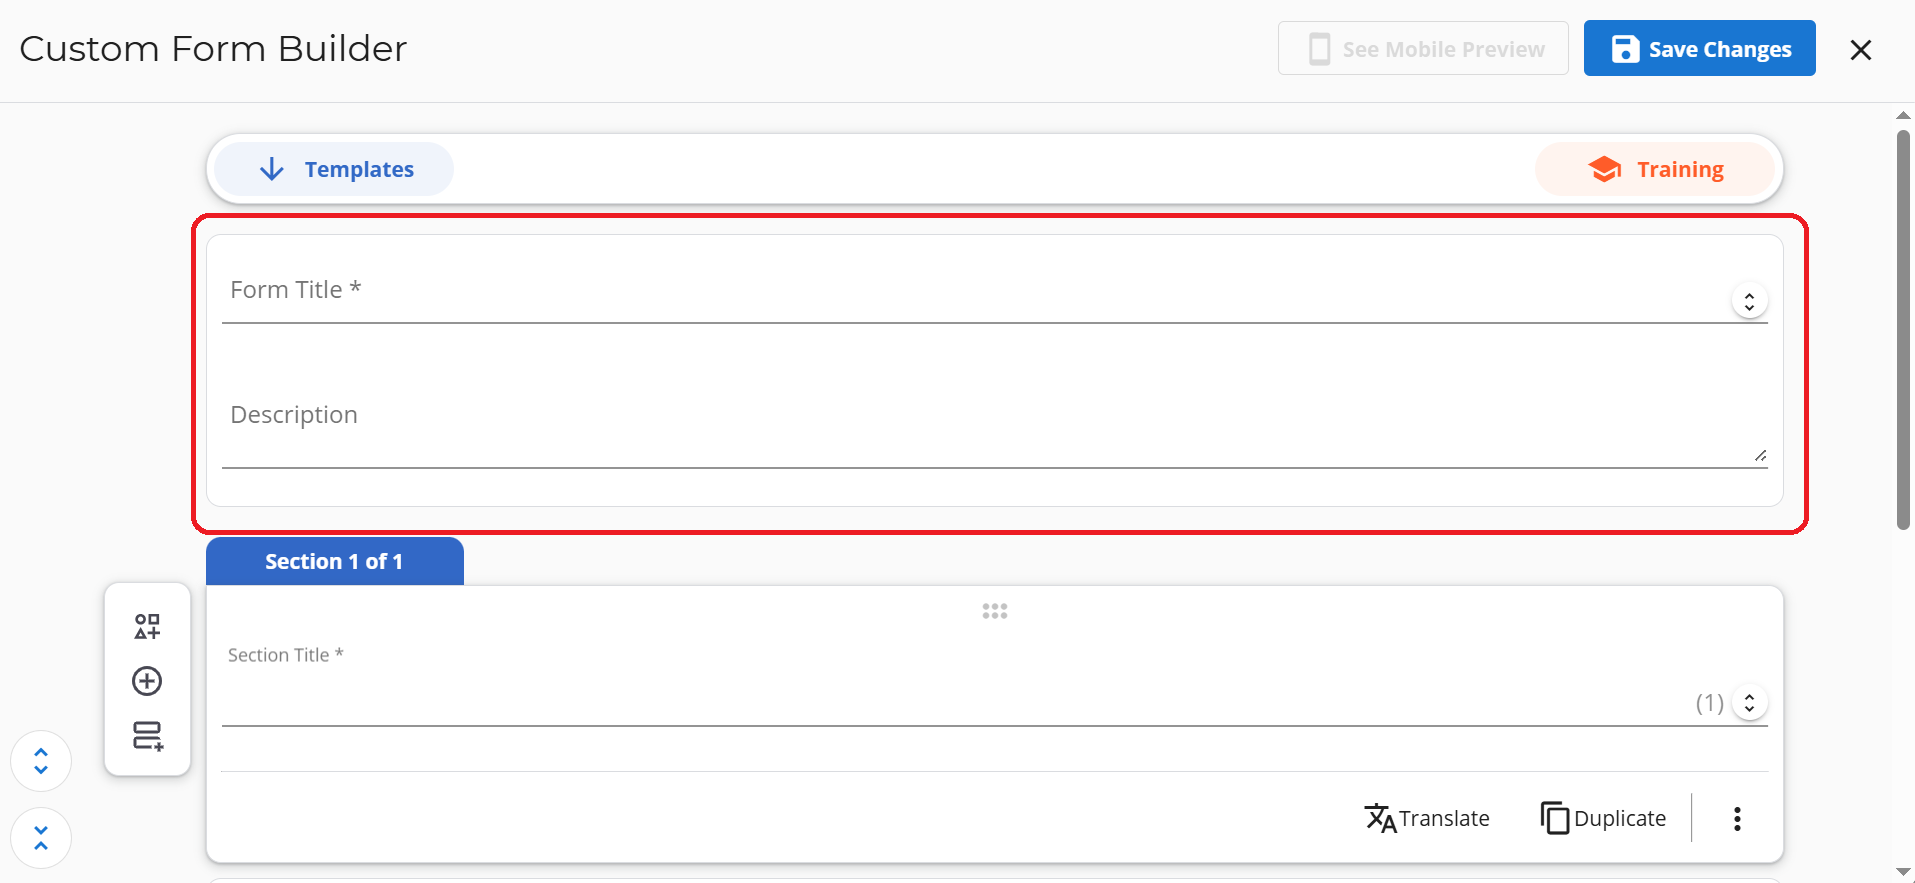
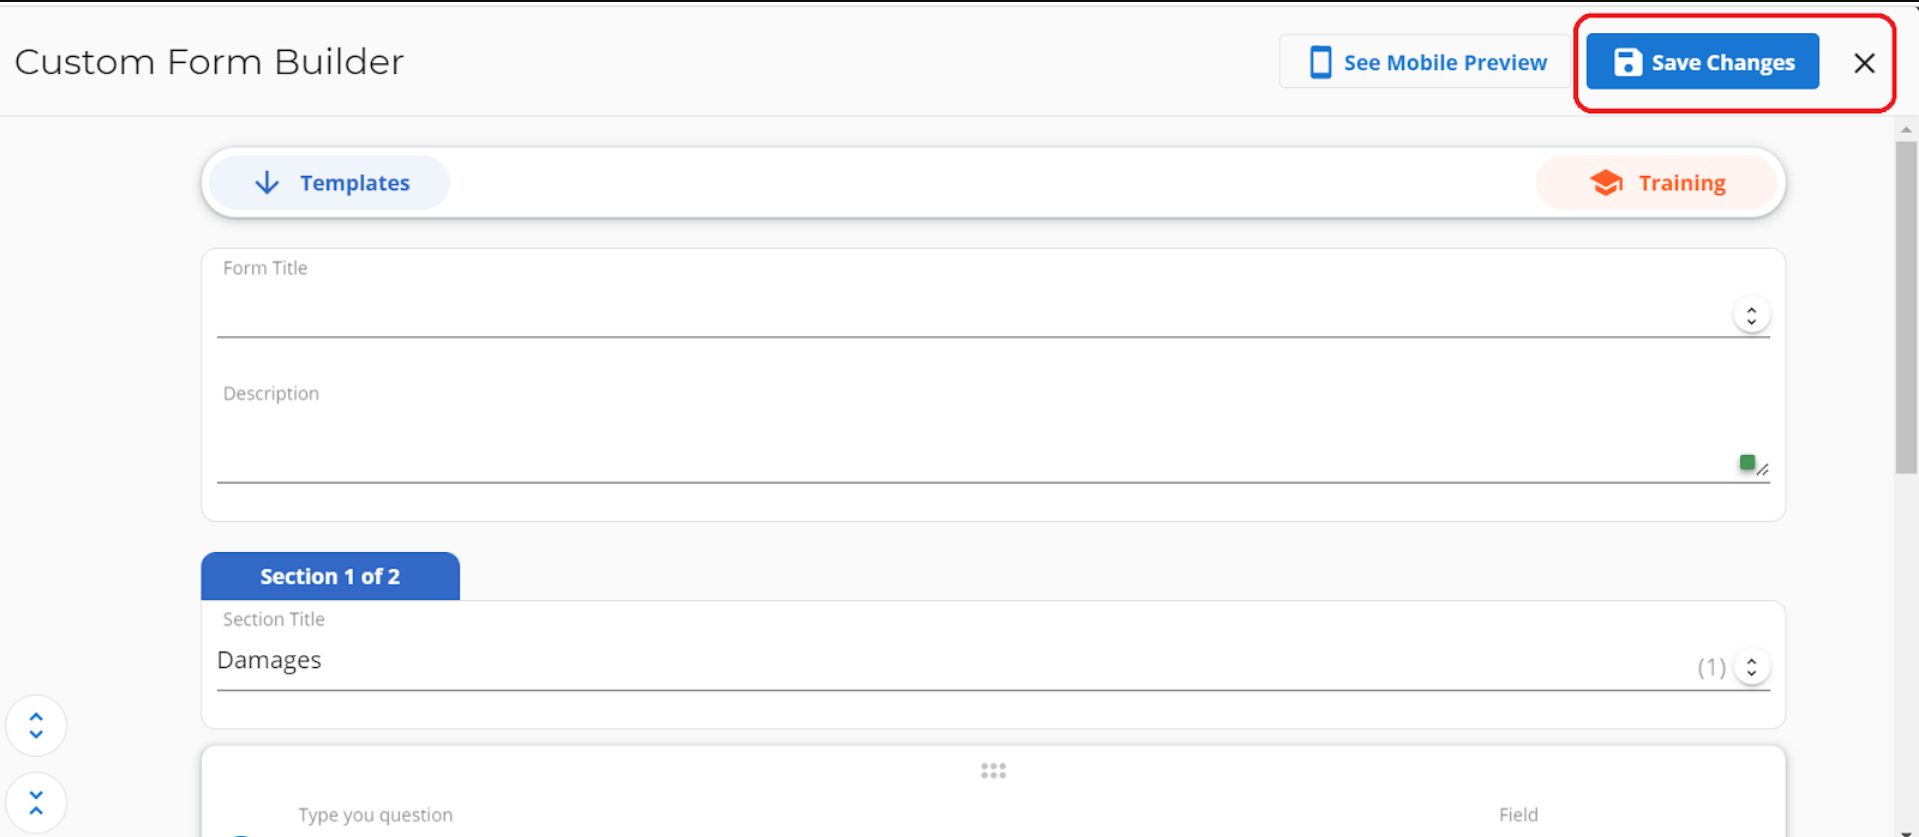
Give your form a title and explain the purpose of it in the description.
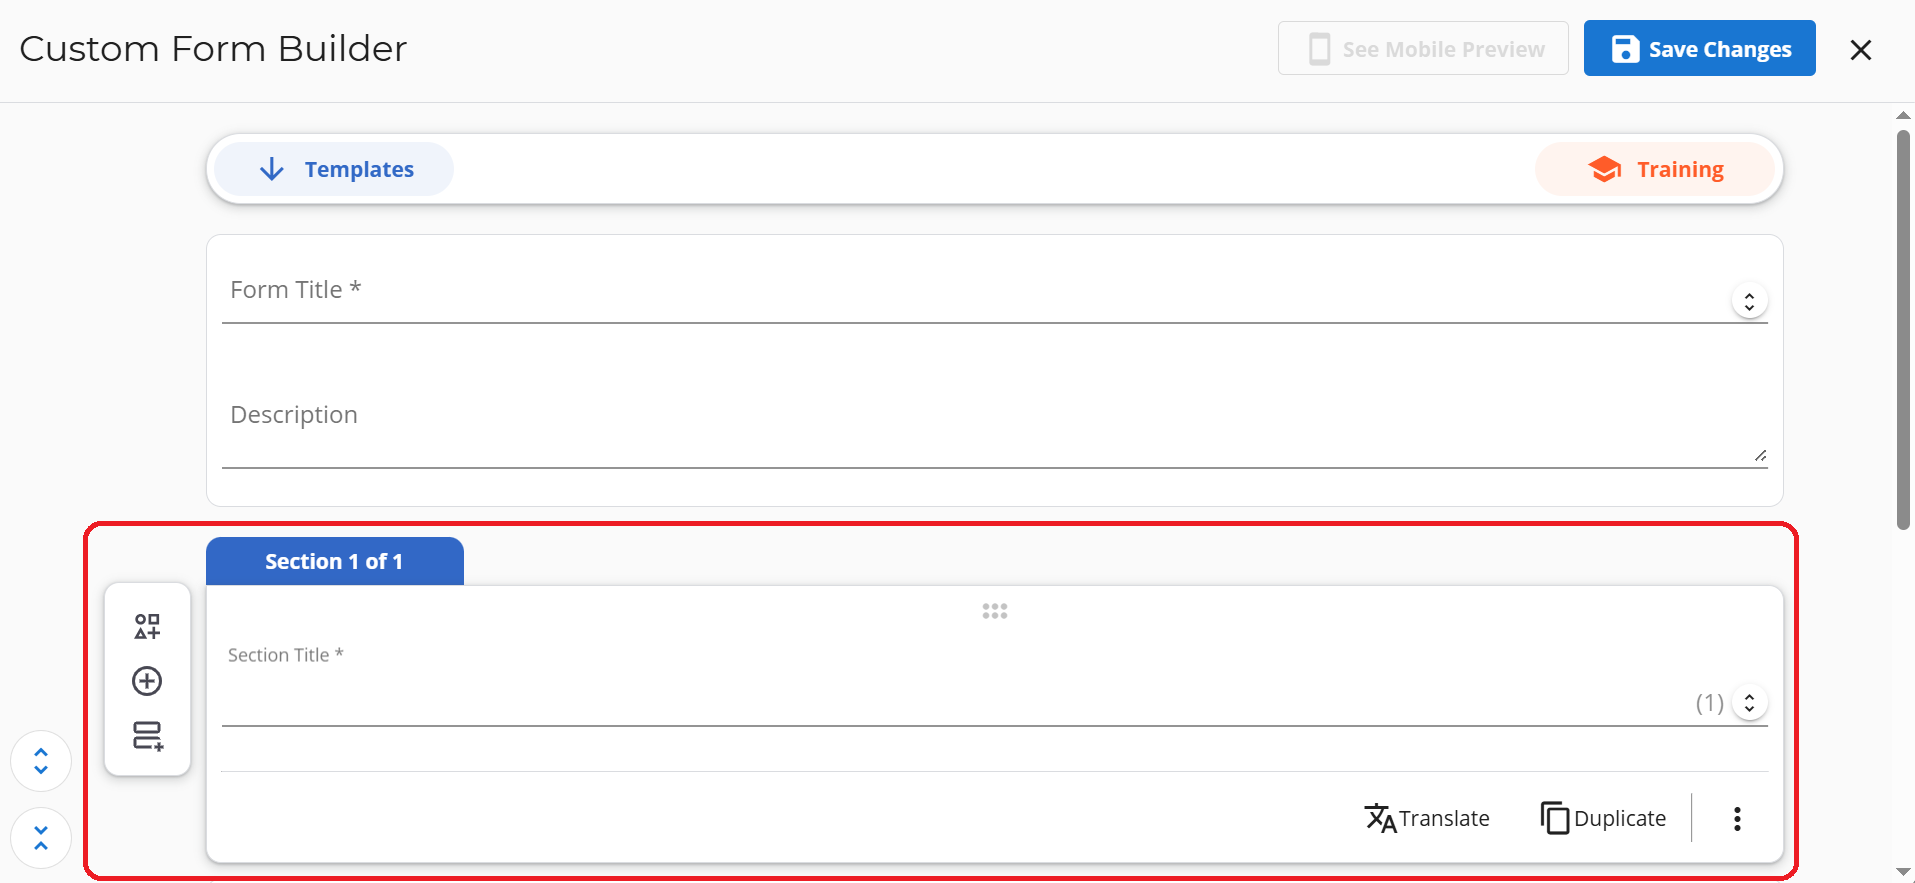
Next, give your section a name.
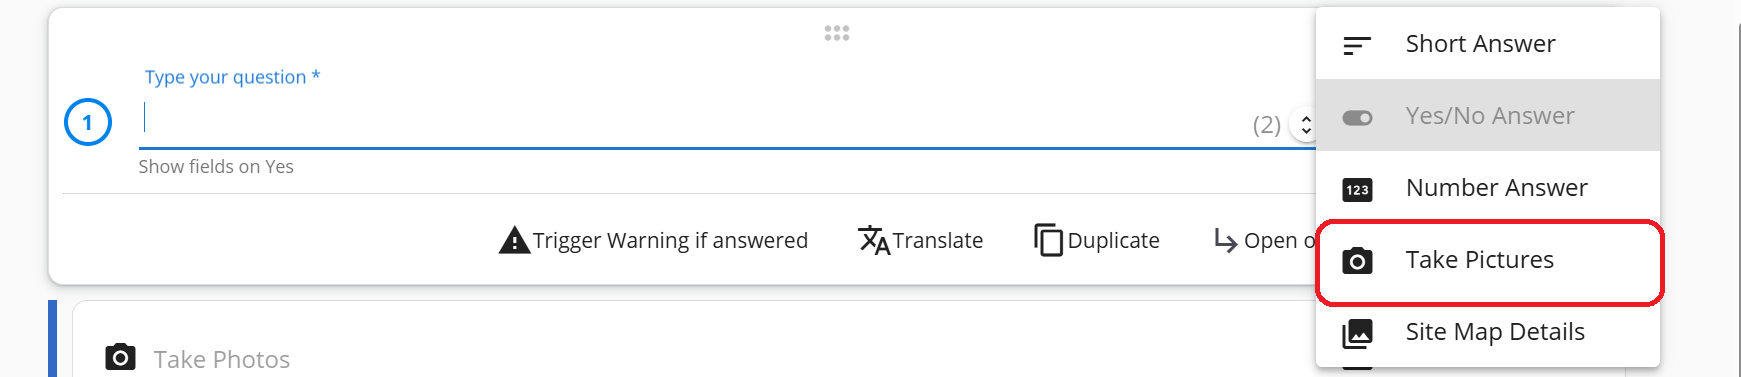
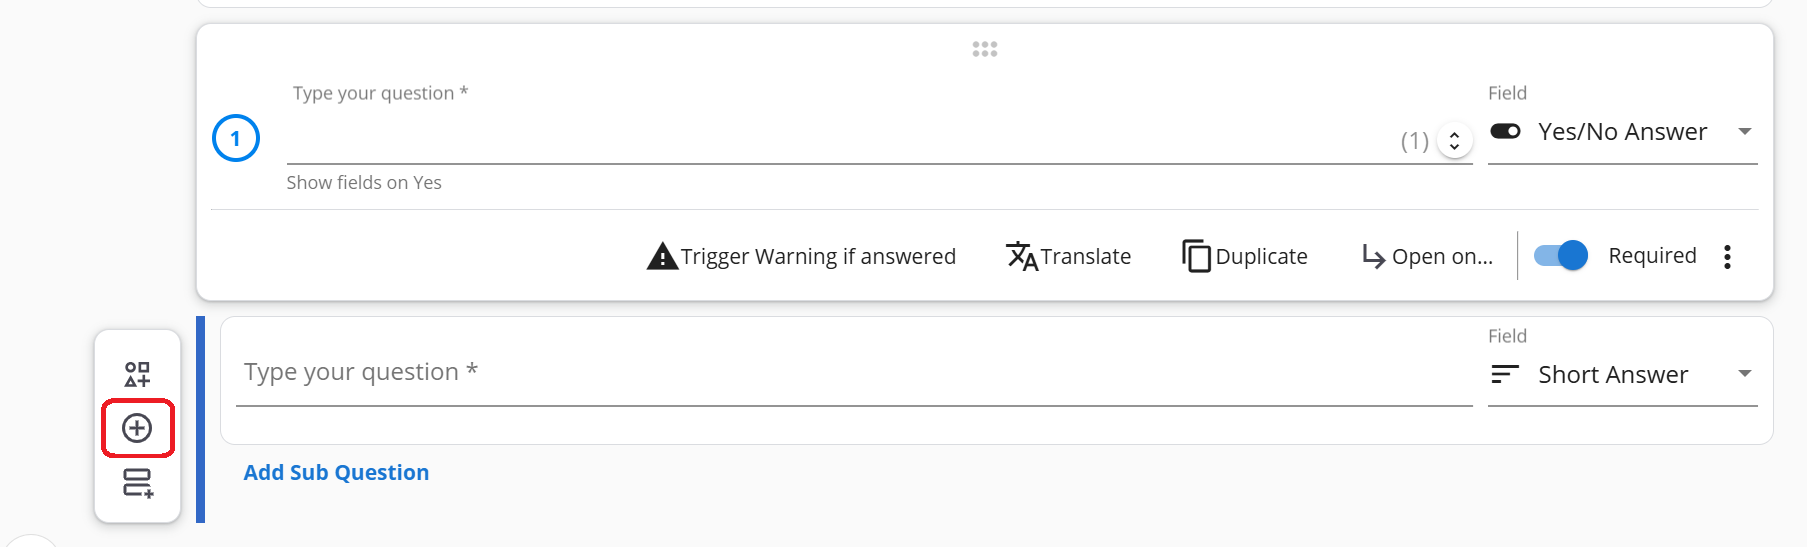
Type out your question in the question field, then head over to the next field to select what type of answer you wish to receive.

Current options are:
Short Answer: Requires respondents to provide a brief text response, typically one word or a short sentence. Useful for collecting concise information such as names or email addresses.

Yes/No Answer: Allows respondents to select either Yes or No as the answer to the question. Useful when looking for confirmation.

Number Answer: Allows respondents to select a figure as an answer. This can be useful for collecting specific data.

Picture Answer: Requires the respondents to upload an image. Useful for collecting supporting materials or evidence.
Map Answer: Allows respondents to comment on the Site map that they were provided. This question can only be used once in a form. Useful for collecting supporting materials or evidence. Useful for collecting detailed feedback.

You can make a question mandatory to answer by turning on the Required toggle.
Trigger Warning
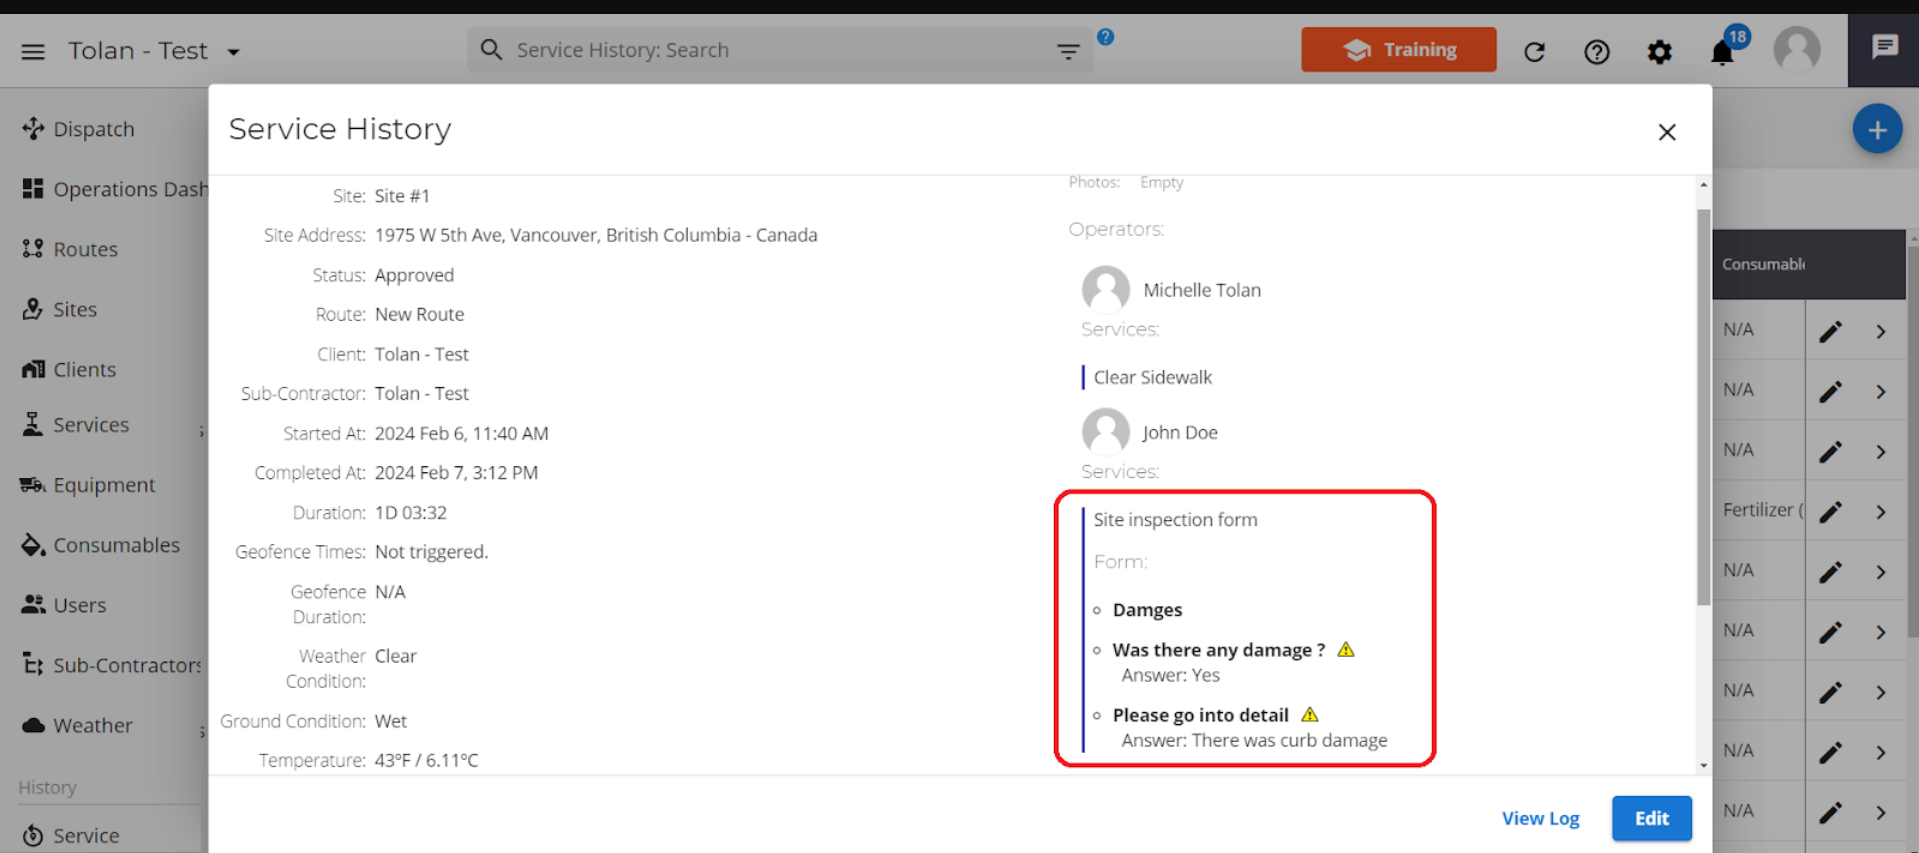
If you want to be alerted when an operator answers a question with a certain answer you can do so by clicking the trigger warning if answered button. For example, if your question was "Is there any curb damage ?" then you would want to be alerted if the operator answered “Yes”. By adding a trigger warning, anytime this question is answered yes it will be flagged. In the service history report the flagged answers to this question will have a warning icon beside them.

Translate
Click the translate button and you'll be given the option to set the language that the form will be shown in.

Duplicate
The Duplicate button will allow you to copy a question and can be useful when you want to create a similar question in the same format.

Sub-Questions
The Open-On button allows you to add sub-questions that will appear only when a specific answer is selected.
For example:
If your question is “Is there any noticeable damage?” and the operator answers “Yes”, a follow-up question like “Please upload a photo of the damage” can automatically appear.
Note: This feature is only available when the answer field is set to Yes/No.

Delete Question
If you wish to delete a question, select the 3 dot button and click on the delete button.
Add a Question
To create a new question you can click the plus button found at the left-hand side of the form.
Once you are finished creating your questions for your first section, you can add your next section by clicking the Add section button.
Combo Questions
For convenience, you can click the Yes/No+Photo+Comment button to create Yes/No question, a Photo question and a Comment question simultaneously saving you time and effort.

Mobile Preview
Once you are finished creating your form, you can check out how the form will appear on the mobile app by clicking the See Mobile Preview button found at the top of the form screen.


Save Changes
When you are happy with how your form is appearing, you can click save on the top of the form builder.
Then you must hit the save button on the update service page.
Your inspection form has now been successfully created and is available to use.
Adding a Form to a Site
This inspection form is a service that can be added to a site.
Follow the below instructions to understand how to add the form to one single site. As mentioned earlier, you can automatically add this form to all your sites in one go, by setting the charge type and rate during the creation of the form.
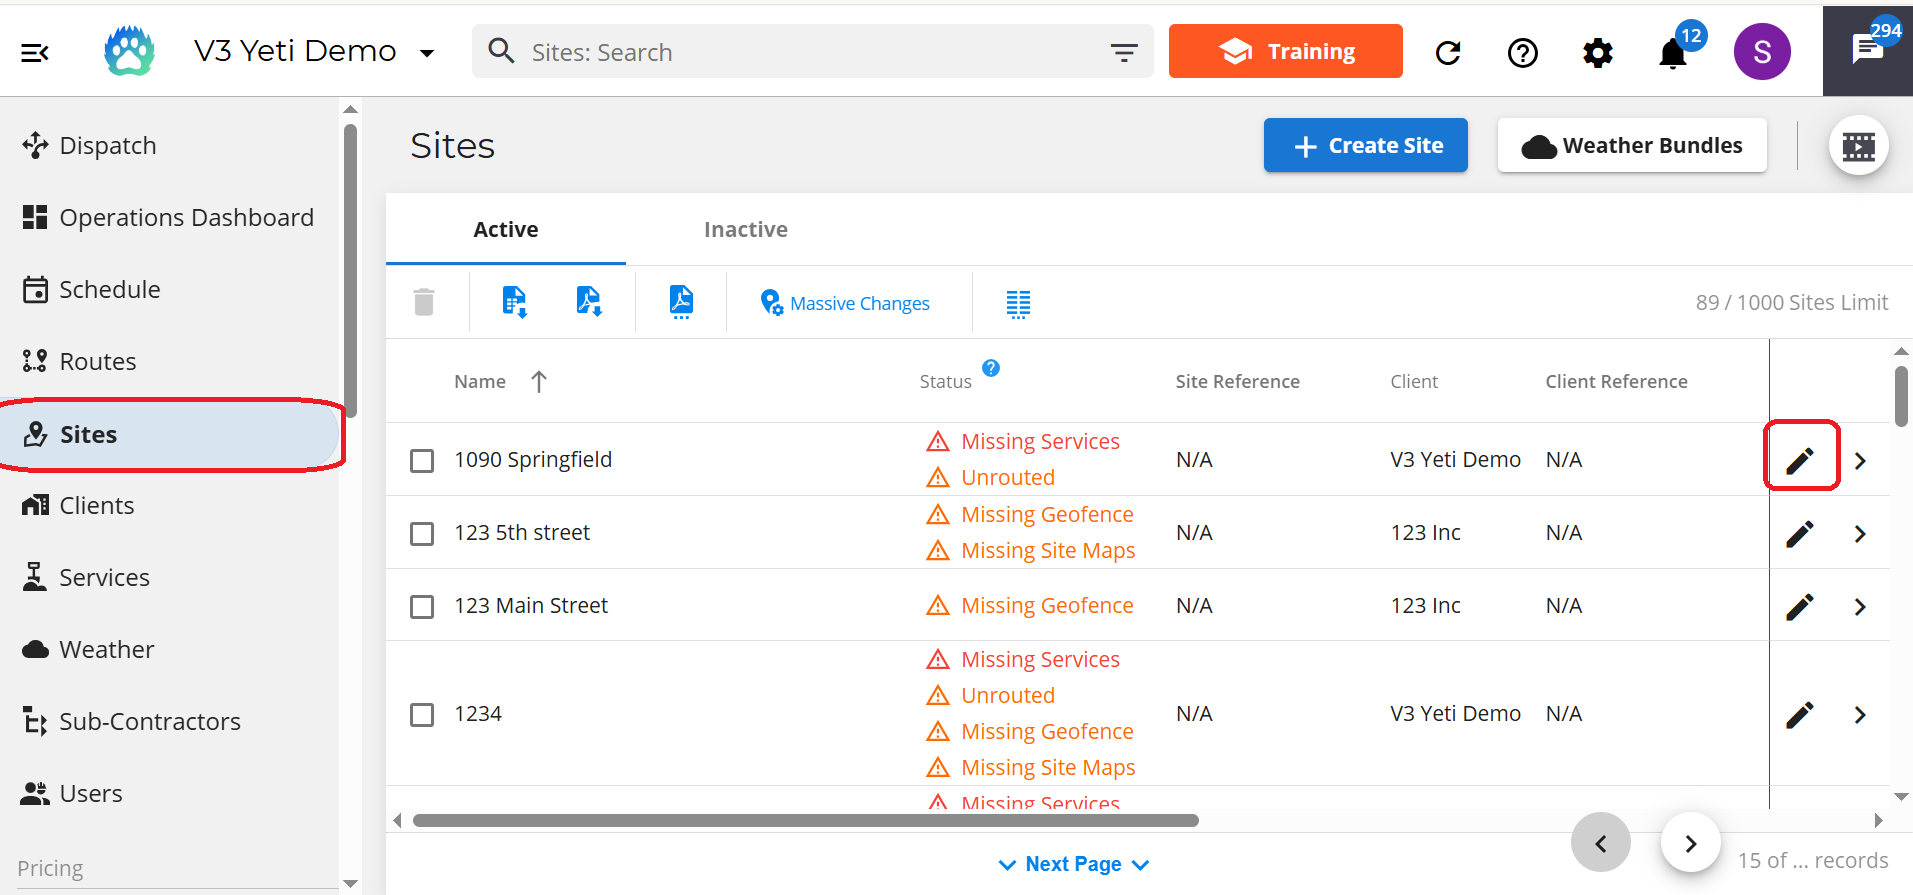
Back to adding the form to one site, go to your site page and click the pencil icon beside the site you want to add the form to.
Head down to services and click on the current service list.
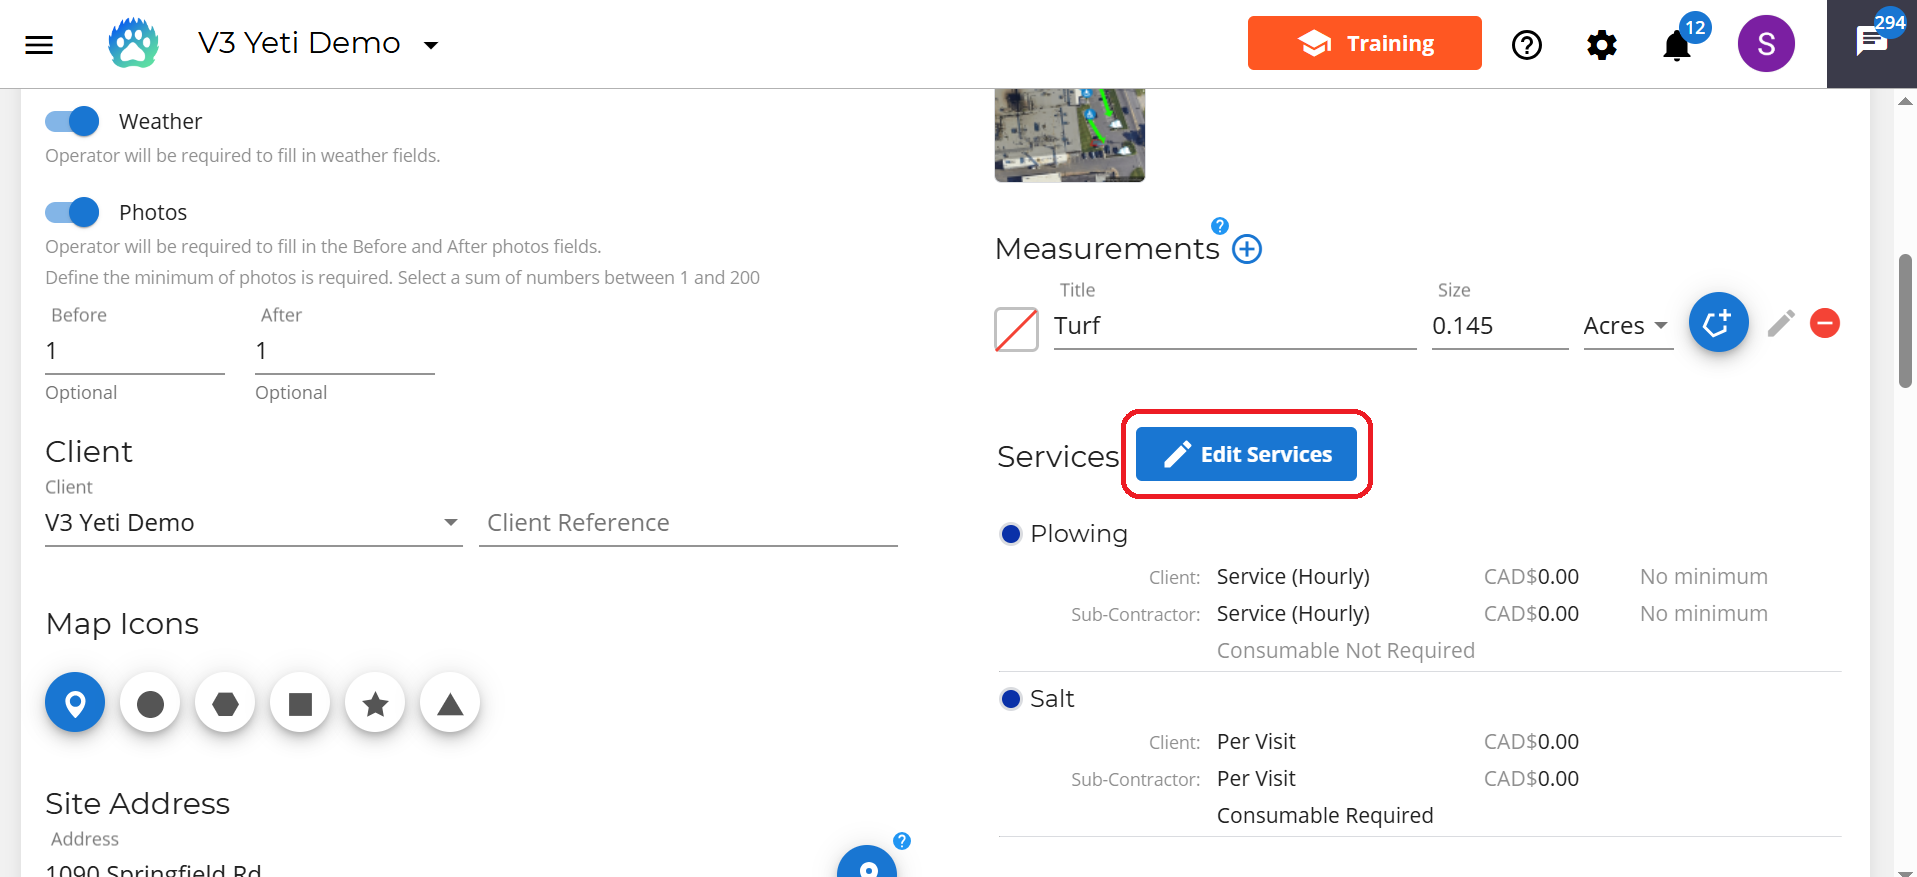
A pop-up will appear with a list of all available services, head down the list until you see your newly created form.
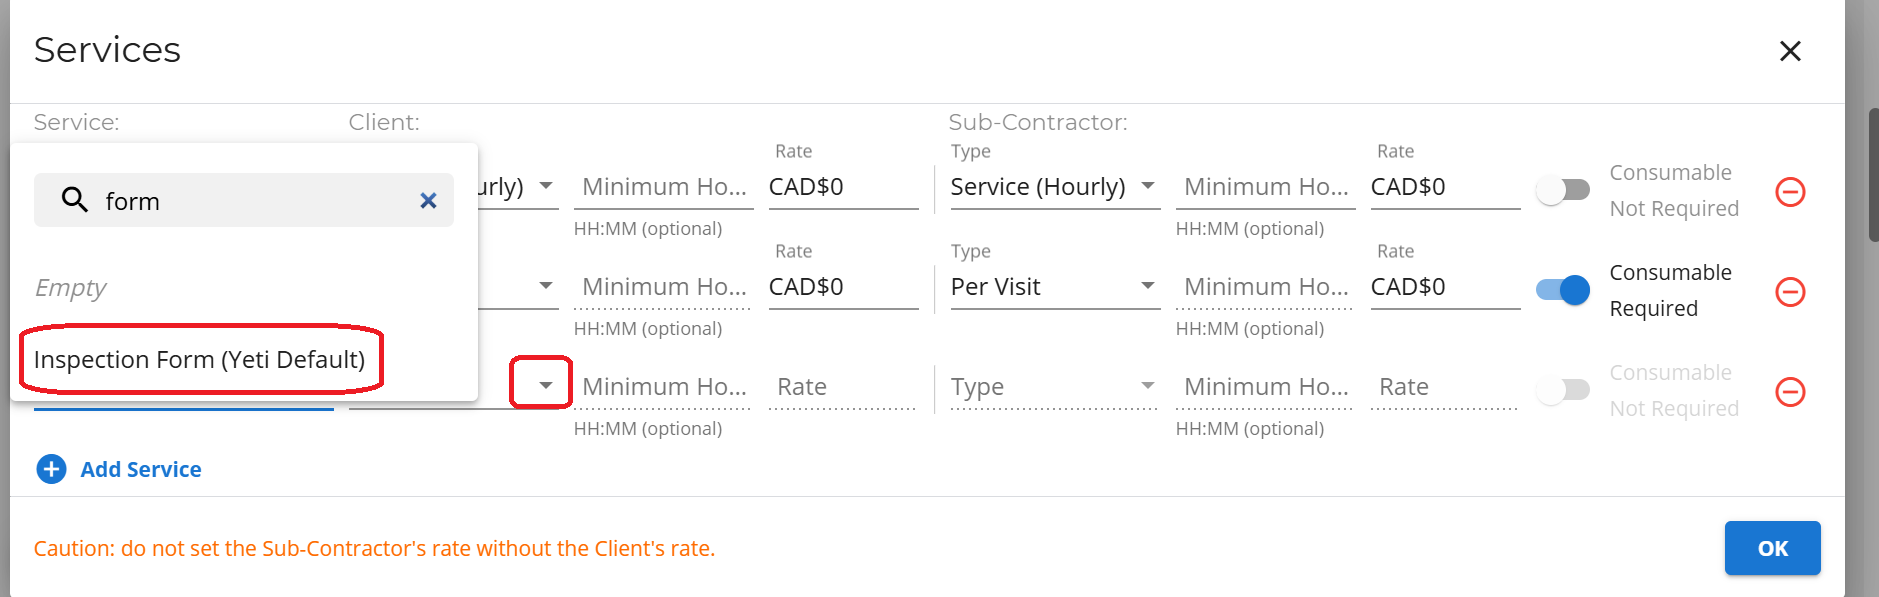
Once you have found it, set the charge type to either Per Visit or Monthly and enter in a figure. If you want this to be a free service enter in $0. Click the OK button at the end of the screen to update your service list.
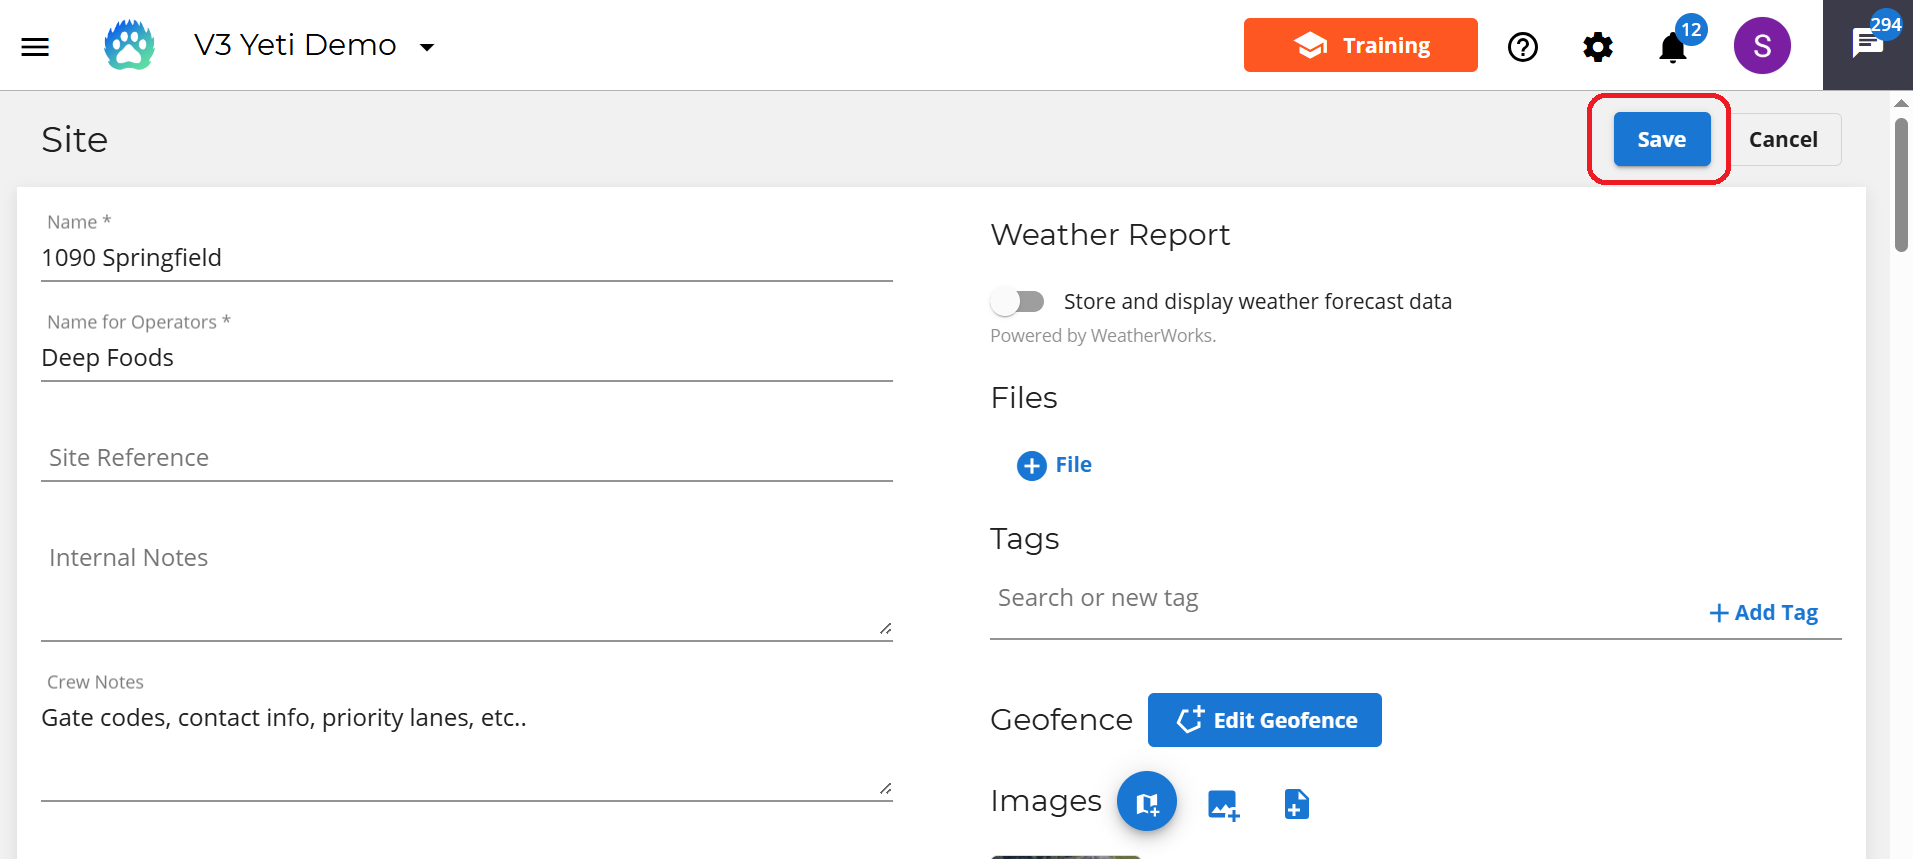
Then hit the save button on the top left corner of the screen to save the changes you've made to your site.
Filling out the Form on the Yeti Mobile App
When your operator goes to services a site on the mobile app, they have a choice to note what services they performed. On the site page select site services.
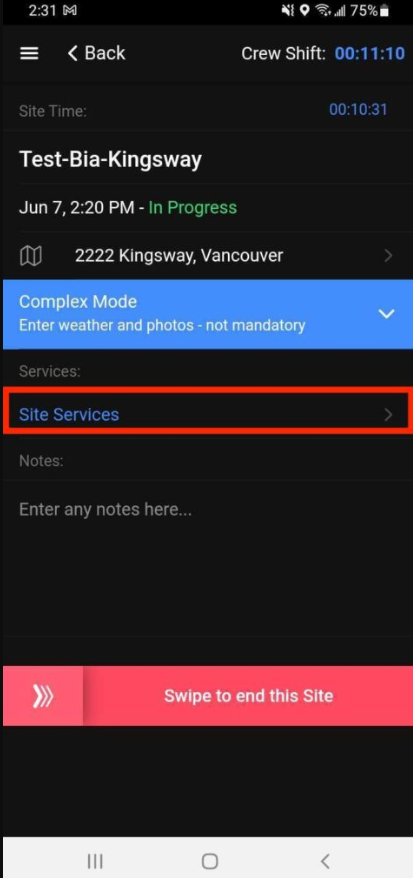
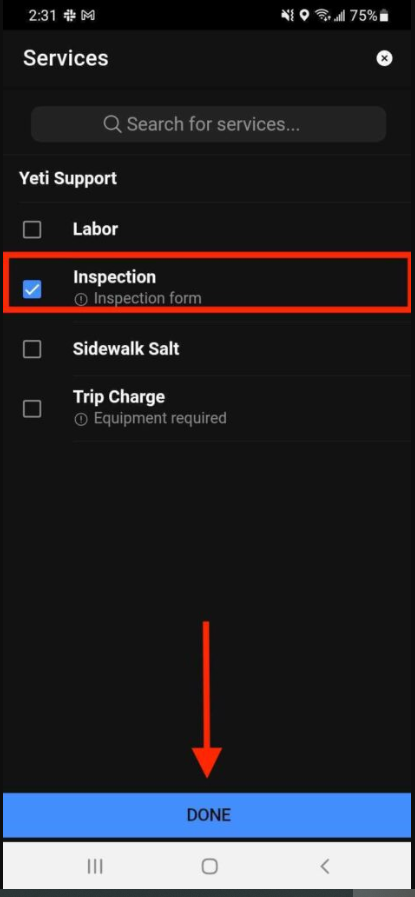
A list of services will appear, select your form and hit done. Next, click on the inspection form in order to open it up.
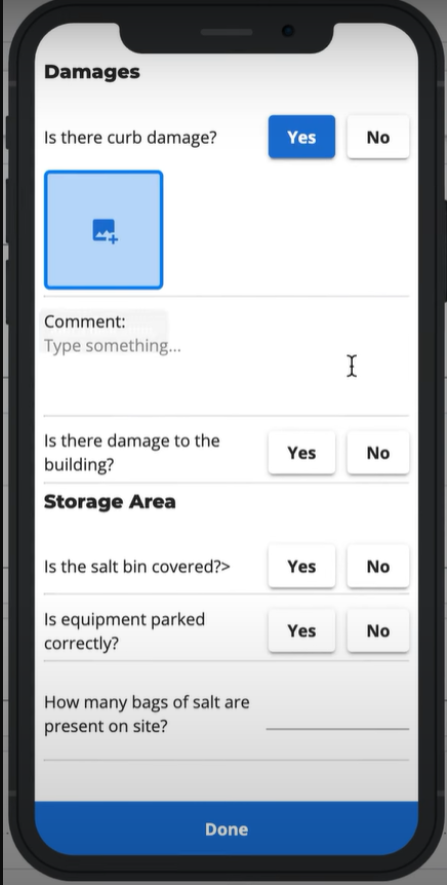
Your form will now appear and your operator will be able to answer the questions that you have set out. By answering certain questions sub-questions will appear.
Once the operator is finished they can hit the done button at the end of the screen .
The operator will be blocked from closing the form unless all required questions are filled out.
Accessing Completed Forms
There are two different ways to see how your operator answered when completing the form.
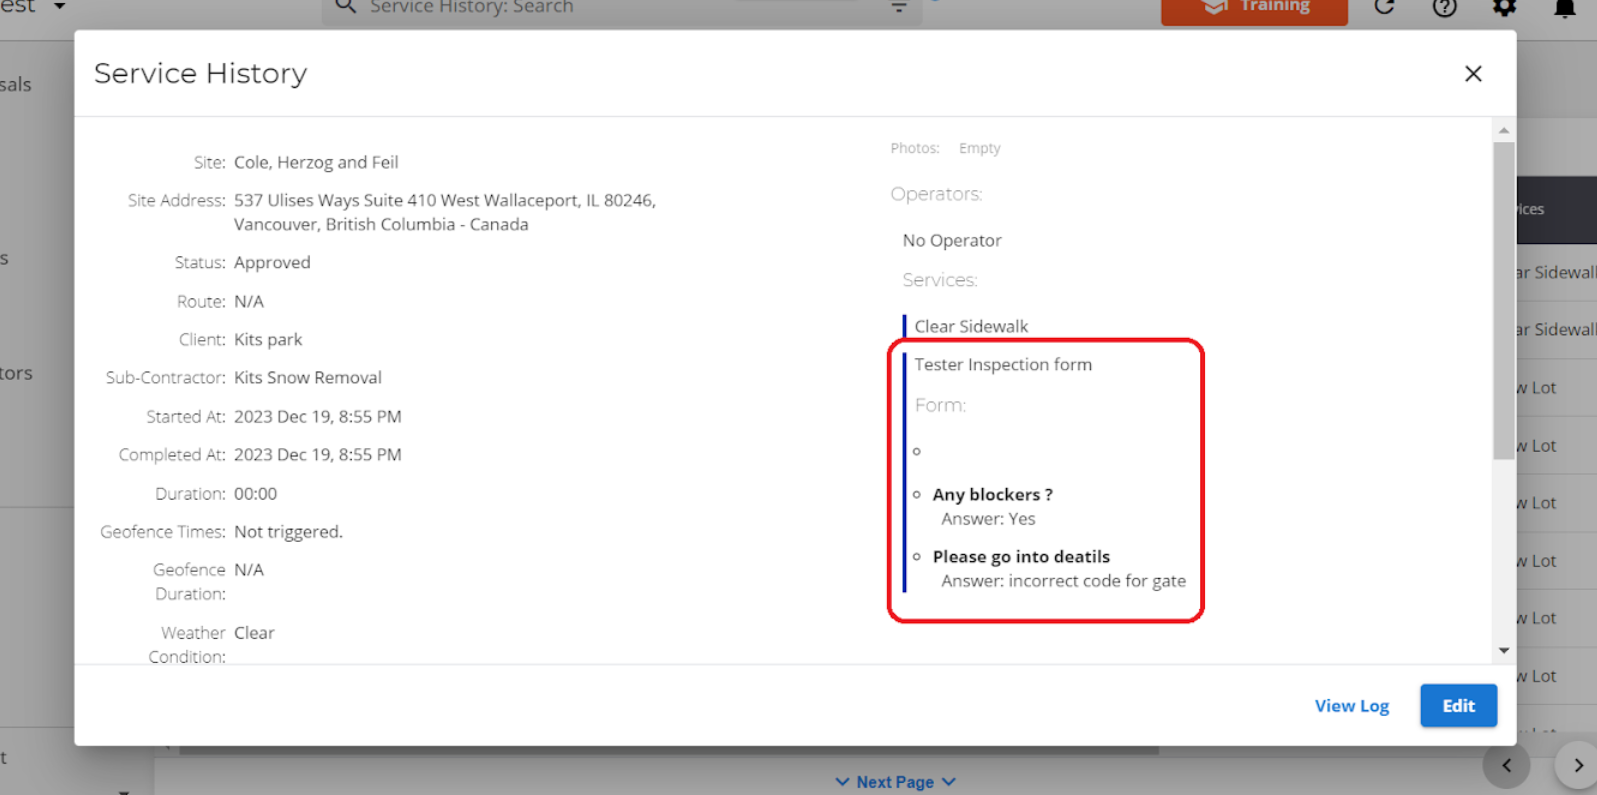
The first way is through the service history page. Every record here represents one site serviced. Select a record to open it up. The answer to the form will be on the bottom left-hand side of a record.
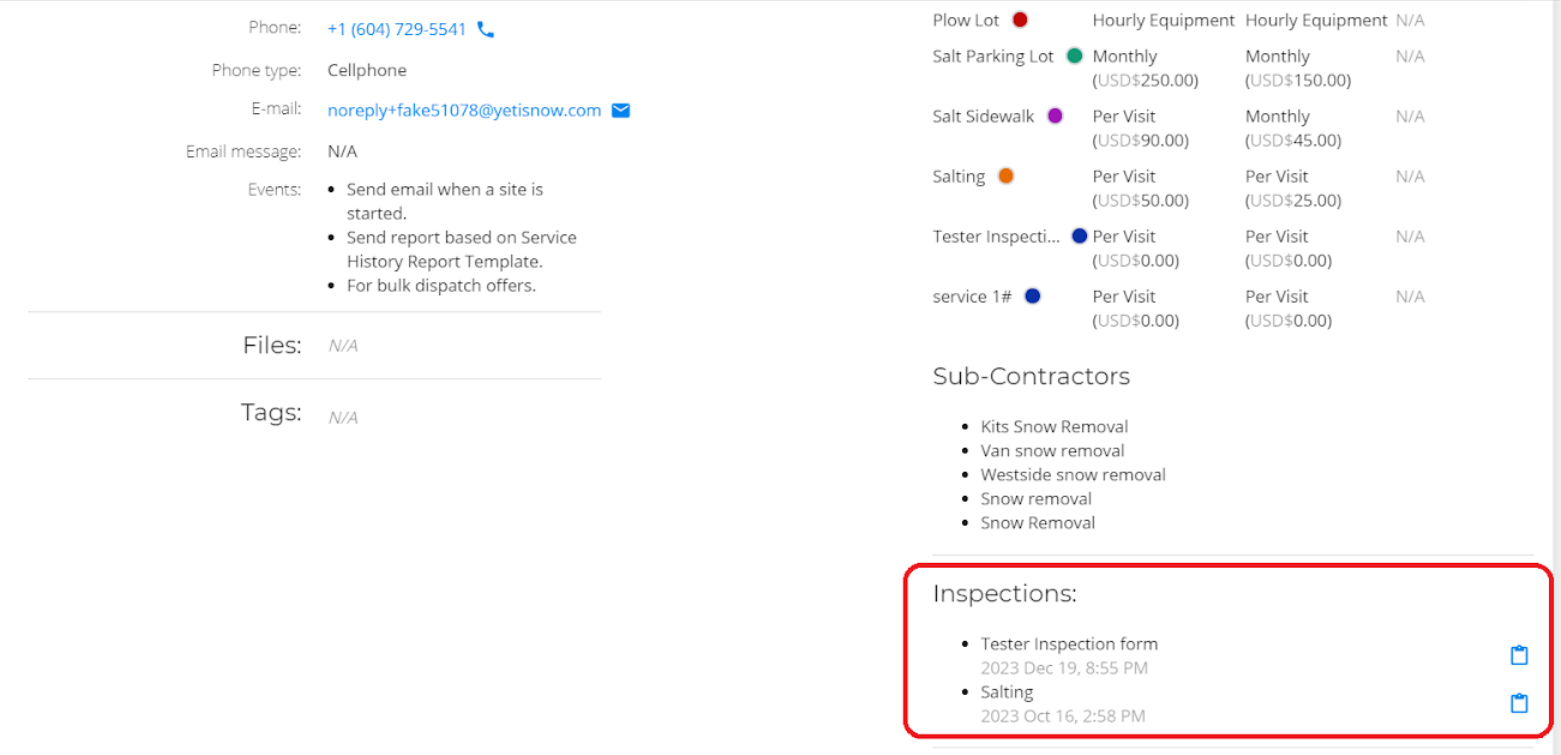
The second way is on the site page. Click on the site that your operator has serviced and head down to “Inspections” which is found at the bottom of the page.
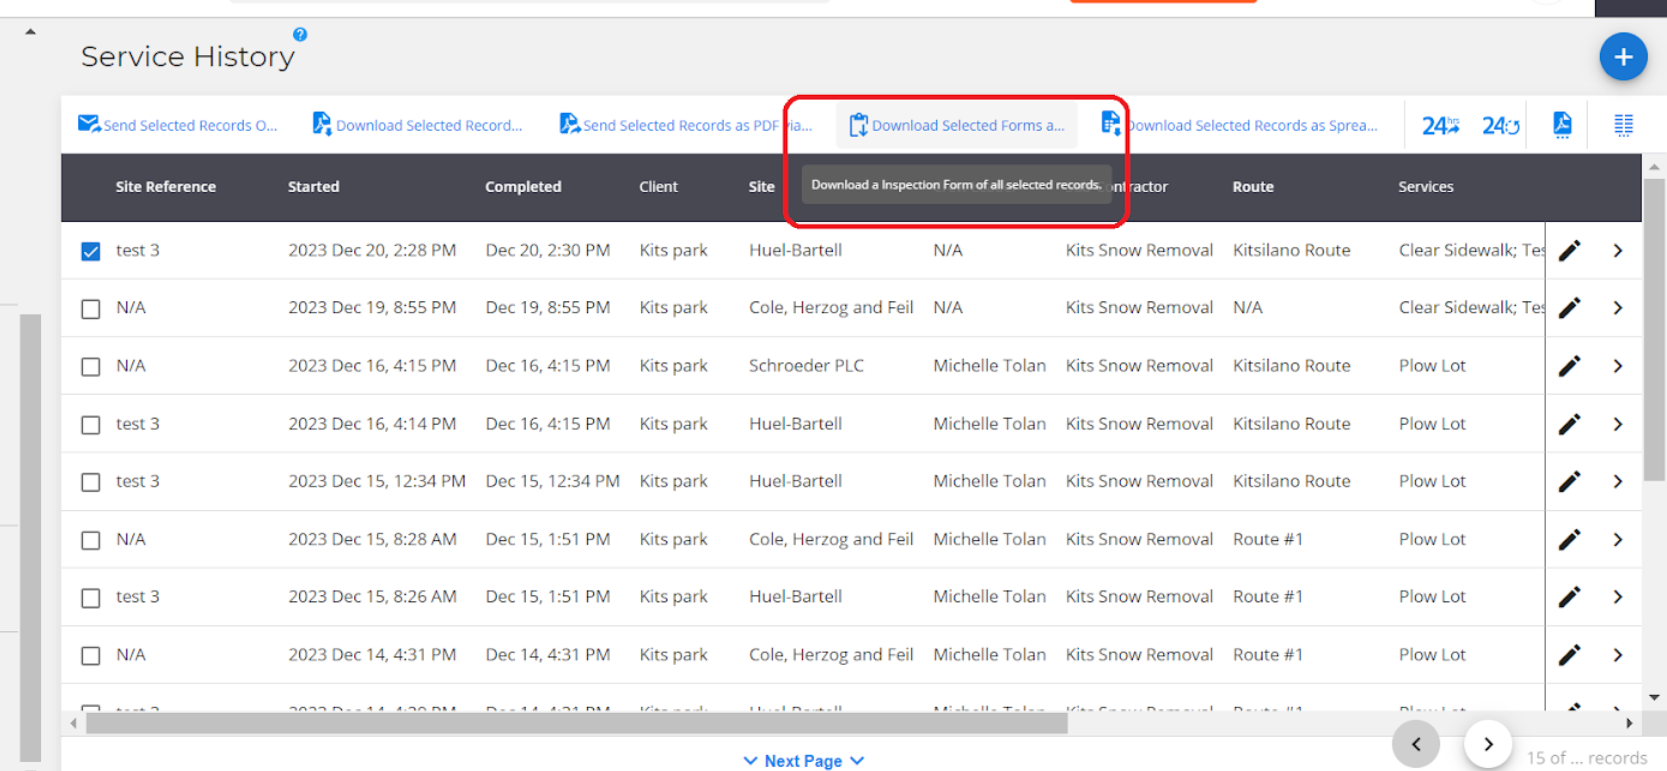
Download Completed Forms
On the Service History Page, select a record and hit the download inspection form button. The Form will be downloaded in PDF format.
If you have any issues with forms, Please reach out to support@yetisoftware.com.